 |
| Some games with Mr Priestly's name on are better received than others... |
a) Skirmish level
b) Objective based
c) Infantry focused
I'm hoping to get some small games in early next year in order to figure out whether I enjoy it or not. I hope I do as I seem to have roughly 1500 points due to the crazy cheap prices of historical figures and some Black Friday Sales...
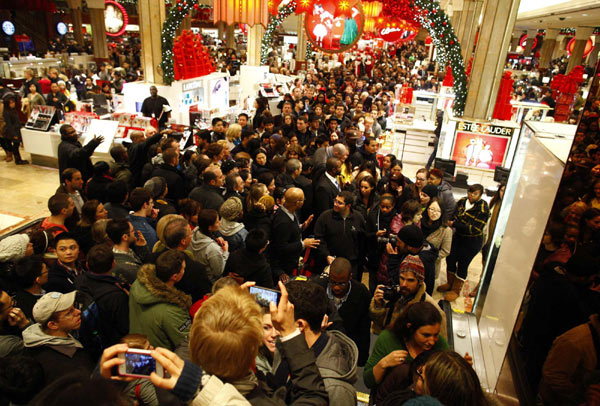 |
| A Black Friday Sale. Probably not involving wargamers. |
The infantry are from Plastic Soldier Company and cost £35 for 57 infantry, 4 maxims (2 firing and 2 moving), 2 x 50mm mortars, 2 x 82mm mortars, 4 x anti tank rifles, 1 x 45mm anti tank guns and 1 x 76mm infantry guns. That's a pretty good start on any force. So far I've assembled the infantry and some of the guns. I've also got some paint on a rifle squad
 |
| An officer and two riflemen |
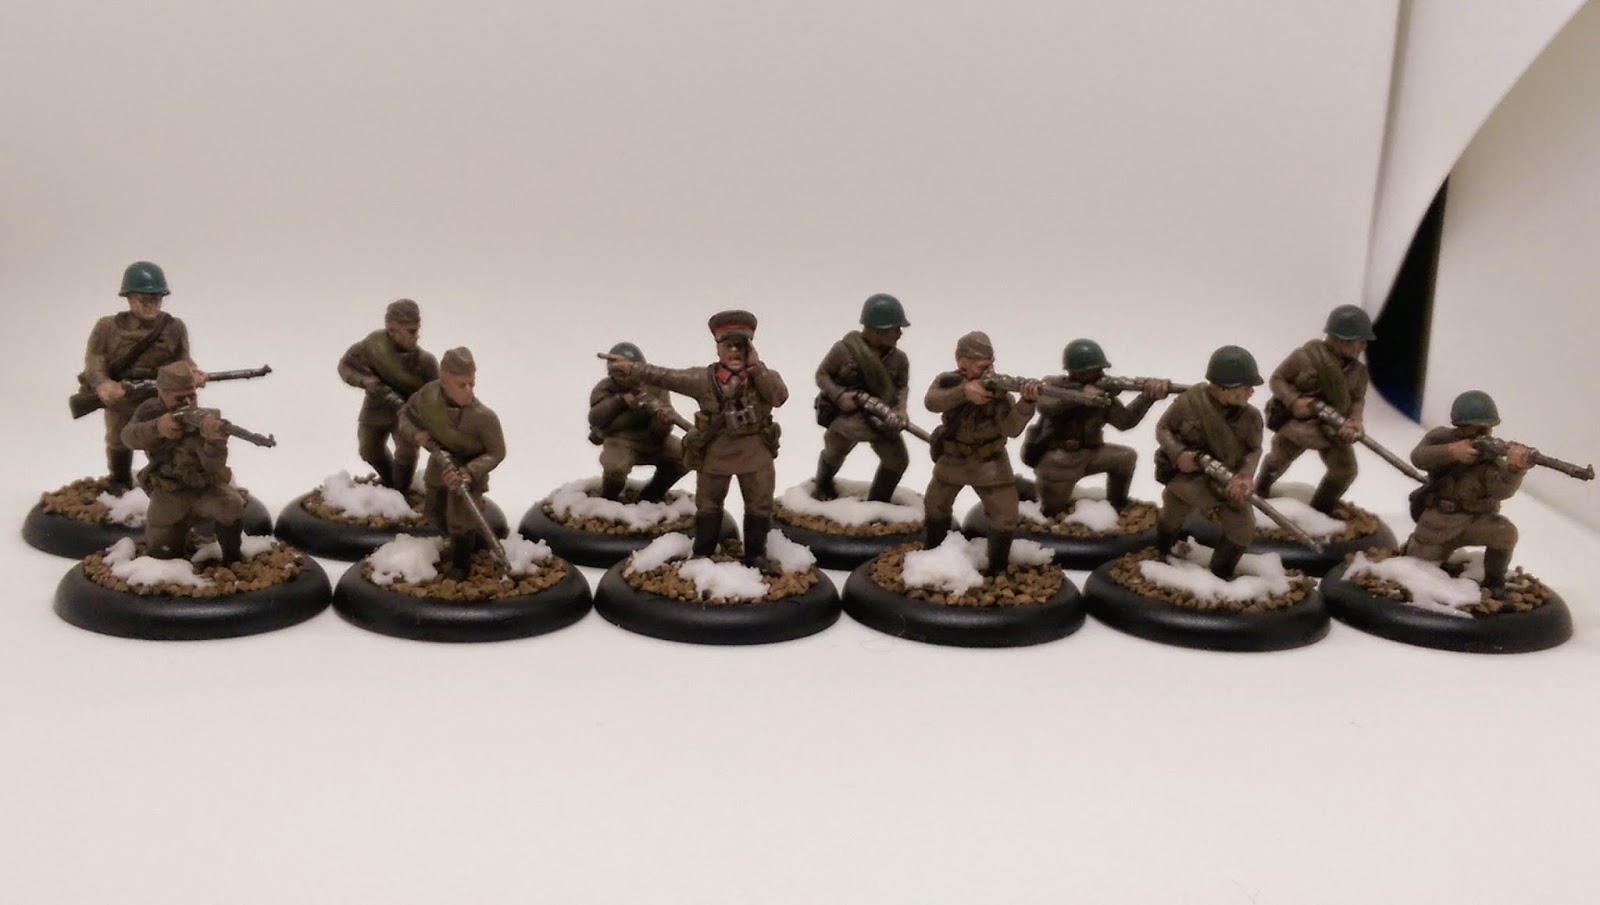 |
| The squad of twelve riflemen |
* The Officer is from Black Tree Designs 'Men of War' range and is actually General Chuikov. The standard bearer was from eBay so I'm not sure of the manufacturer (let me know if you recognise it). The flag was done using a tutorial from 'Wargames, Soldiers and Strategy'. The flag itself can from the wonderful Maverick Models as I don't have access to a good colour printer at home and was failing miserably to resize a Soviet flag at work...
 |
| The HQ - officer and banner |
 |
| Obligatory group shot! |
I'm really pleased with the snow effect on the bases and it was really easy to do.
1) Paint the model and add brown ballast material using a coat of PVP glue.
2) Once this is dried mixed a generous squirt of Woodland Scenics Water Effect with a bit of bicarbonate of soda and a few drops of water. The ratio is more of an art than a science but you are aiming to get something with a consistency similar to toothpaste
3) Use a toothpick or an old brush to add this to the base. If you want to sculpt drifts or something you can if you've got the mixture thick enough
4) Leave it to dry overnight (it takes quite a while) and you should have a lovely snow effect!
I'm told this can yellow with age if you keep your models in a warm room but this seems to only be a problem for people keeping figures next to radiators or in hot American garages.
 |
| Could be worse, could be Finecast... |
1) Print the flag onto good quality paper and cover the design in a thin layer of PVP glue to stop the ink bleeding when you apply the inks
2) Once it has dried attack the banner with a mixture of brown and black inks - this gives it the impression of being around smoke and dirt on the battlefield
3) When this has dried carefully cut the flag out and stick the two halves together with PVP - remember to leave the loops unglued so you can attach it to the flag pole
4) Before the glue dries shape the flag so it looks like it is fluttering in the wind
5) When the glue has dried use a little more ink to shade the creases in the shape you've made
6) Trim the edges of the flag with scissors or a craft knife to add battle damage
7) Add some more black/brown ink to any exposed bits of white paper before attaching the flag to the banner pole
At the minute I'm working on a Shtraftbat using some of Warlord Games' Soviet Infantry. I expect to have these finished a week or so and will share photos of them then.
I think the next article will be an run through of the stack of games I have on my shelf that I've never played and a call to arms to help me decide whether it's worth giving them a go...
No comments:
Post a Comment